
1. Before installation, check that all parts of the butterfly valve are not missing, the model is correct, there is no debris in the valve body, and there is no blockage in the solenoid valve and muffler
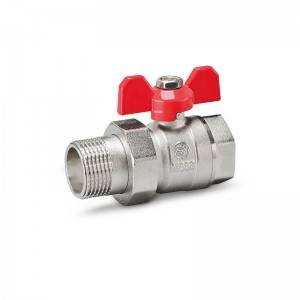
2. Put the BALL VALVES and cylinder in the closed state.
3. Hit the cylinder against the valve (the installation direction is either parallel or perpendicular to the valve body), and then check whether the screw holes are aligned, there will not be too much deviation. If there is a slight deviation, just rotate the cylinder body a little. , And then tighten the screws.
4. After installation, debug the butterfly valve (the air supply pressure is 0.4~0.6MPa under normal conditions), and the solenoid valve must be opened and closed manually during the debugging operation (manual operation can be effective after the solenoid valve coil is de-energized), and observe The opening and closing of the pneumatic butterfly valve. If the valve is found to be a bit difficult at the beginning of the opening and closing process during the debugging operation, and then it is normal, you need to reduce the stroke of the cylinder (the stroke adjustment screws at both ends of the cylinder should be adjusted inward at the same time, and the valve should be moved to the open position during adjustment. , Then turn off the air source and adjust again) until the valve opens and closes smoothly and closes without leakage. It should also be noted that the adjustable silencer can adjust the opening and closing speed of the valve, but it should not be adjusted too small, otherwise the valve may not operate.
5. Defa should be kept dry before installation and not stored in the open air
6. Check the pipeline before installing the butterfly valve to ensure that there is no foreign matter such as welding slag in the pipeline
7. The manual opening and closing resistance of the butterfly valve body is moderate, and the torque of the butterfly valve matches the torque of the selected actuator.
8. The flange specifications for butterfly valve connection are correct, and the pipe clamp flange conforms to the butterfly valve flange standard. It is recommended to use special flanges for butterfly valves instead of flat welding flanges.
9. Confirm that the flange welding is correct. After the butterfly valve is installed, the flange must not be welded to avoid scalding the rubber parts.
10. The installed pipe flange should be centered and centered with the inserted butterfly valve.
11. Install all the flange bolts and tighten them by hand. It will be confirmed that the butterfly valve and the flange have been aligned, and then the butterfly valve will be opened and closed carefully to ensure flexible opening and closing.
12. Fully open the valve. Use a wrench to tighten the bolts in diagonal order. No washers are needed. Do not overtighten the bolts to prevent serious deformation of the valve ring and excessive opening and closing torque.
Post time: Jan-18-2022


